You should use node:test - Act Two
Hi there! 👋
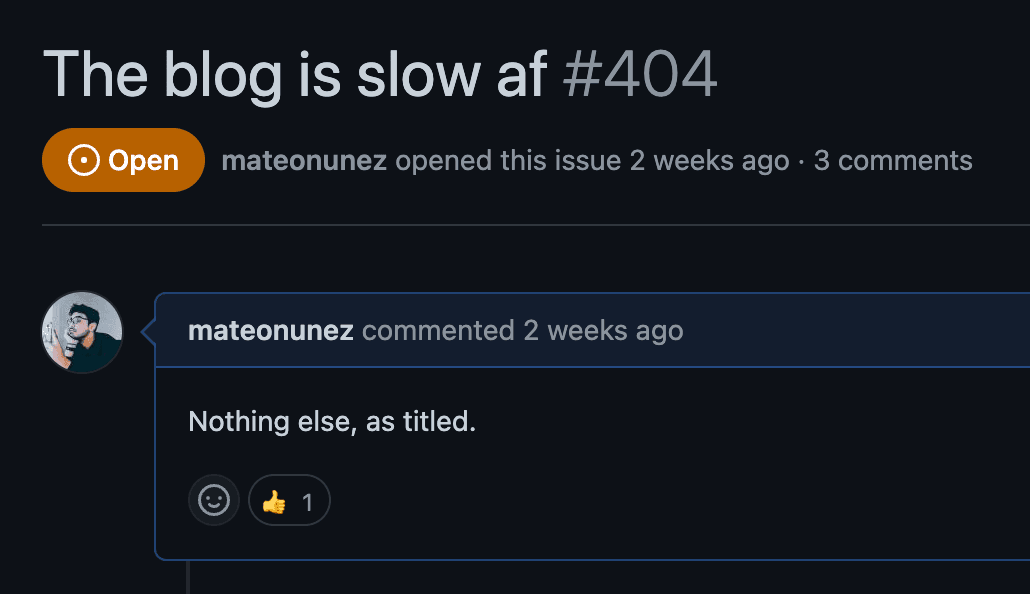
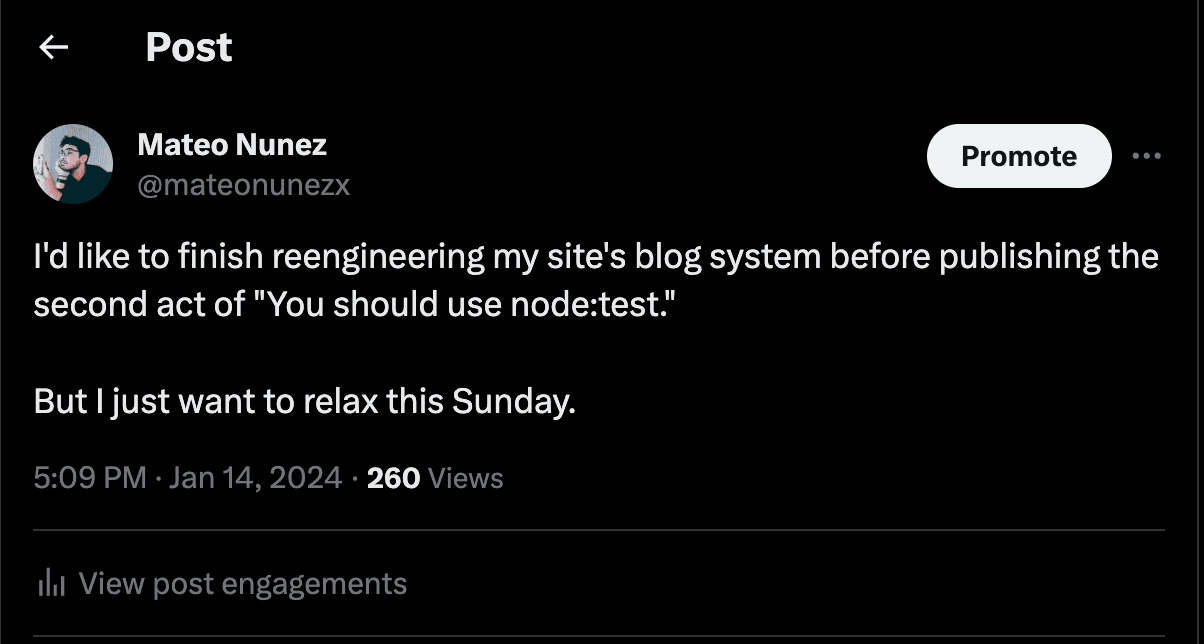
I've finally decided to finish this article while waiting for my plane to come home (🇨🇴). The reason I couldn't complete it earlier is that I was addressing some performance issues on my personal blog.


I've been working on a still WIP PR, but Next.js and MDX aren't being very cooperative. However, the outcome is fantastic, and you can check it out here.
Anyway, let's talk about the new Node Test Runner. In the previous article I introduced to the new Node Test Runner, and I explained why I think it's a good idea to use it. In this article I'm going to talk about some of the features that I think are really useful.
One of the most intuitive features of every test framework, is the ability to mock modules. This feature is very useful when you want to test a module that depends on other modules, external services, etc.
Also the node:test has a similar feature that allows you to mock modules and assert the calls to the mocked functions. Let's see an example:
import { test, mock } from 'node:test';
import { deepEqual } from 'node:assert/strict';
import { someFunction } from './some-module.js';

test('should mock the module', async (t) => {
  t.after(() => mock.reset());

  const mockedFunction = mock.fn(someFunction);

  const result = mockedFunction();

  deepEqual(result, 'Hello, Mock!');
  deepEqual(mockedFunction.mock.calls.length, 1);

  const call = mockedFunction.mock.calls[0];
  deepEqual(call.arguments, []);
  deepEqual(call.result, 'Hello, Mock!');
  deepEqual(call.error, undefined);
});
As you can see, the mock function allows you to mock a module. This function returns a mockedFunction that you can use to assert the calls to the mocked function.
The same functionality is also exposed in the TextContext object of each test. The benefit of mocking in this way is that the mocks are automatically reset after each test.
import { test } from 'node:test';
import { equal } from 'node:assert/strict';
import { someFunction } from './some-module.js';

test('should mock using the TestContext', async (t) => {
  const mockedFunction = t.mock(someFunction);
  // ...
});
You can mock different types of modules, which is really useful for mocking single methods, functions, classes, and so on:
Mocking a single method of a Class:
import { test } from 'node:test';
import { deepEqual } from 'node:assert/strict';

class CustomNumber {
  #value;

  constructor (value) {
    this.#value = value;
  }

  add (number) {
    return this.#value + number;
  }
}

test('spies on a class method', (t) => {
  t.mock.method(CustomNumber.prototype, 'add');

  const myNumber = new CustomNumber(5);

  deepEqual(myNumber.add.mock.calls.length, 0);
  deepEqual(myNumber.add(3), 8);
  deepEqual(myNumber.add.mock.calls.length, 1);

  const call = myNumber.add.mock.calls[0];

  deepEqual(call.arguments, [3]);
  deepEqual(call.result, 8);
  deepEqual(call.target, undefined);
  deepEqual(call.this, myNumber);
});
Mocking a single property of an Object:
import { test } from 'node:test';
import { deepEqual } from 'node:assert/strict';

const number = {
  value: 5,
  add(a) {
    return this.value + a;
  }
};

test('spies on an object method', (t) => {
  t.mock.method(number, 'add');
  deepEqual(number.add.mock.calls.length, 0);
  deepEqual(number.add(3), 8);
  deepEqual(number.add.mock.calls.length, 1);

  const call = number.add.mock.calls[0];

  deepEqual(call.arguments, [3]);
  deepEqual(call.result, 8);
  deepEqual(call.target, undefined);
  deepEqual(call.this, number);
});
The node:test module includes a set of reporters that allow you to format the output of the tests. This is very useful when you want to integrate the tests with other tools, processes, etc.
Node Test Runner includes in the box the following reporters:
- tap
- spec
- dot
- junit
- lcov
To use a reporter, you must pass the --test-reporter flag to the node command:
node --test --test-reporter=tap
The default reporter is
specif thestdoutis a TTY, otherwise it istap.
You can also use multiple reporters at the same time. Please check the official documentation for more information.
The reporters are also available as modules. This is useful when you want to create your own reporter or if you're creating your own runner.
import { tap, spec } from 'node:test/reporters';
import { run } from 'node:test';

const reporter = process.stdout.isTTY ? new spec() : tap;

const stream = run({ files: [/* */] }); // this gonna return a TestStream

stream.on('test:fail', () => {
  process.exitCode = 1;
}); // exit with non-zero exit code on test failure

stream.compose(reporter).pipe(process.stdout);
As mentioned above, you can create your own reporter. You can do this in two different ways:
- Using the stream.Transform class.
- Using a generator function.
Before we start, you should keep in mind that the node:test module emits events using the TestStream class. These are some of the events that you can listen to:
test:coverage: emitted when the code coverage is enabled and all the tests are finished.test:diagnotic: emitted when the"context".diagnotic()method is called. Thecontextis the TestContext object.test:fail: emitted when a test fails.test:pass: emitted when a test passes.test:plan: emitted when all the subtests have been completed.
You can find more information about the
TestStreamin the official documentation.
Having said that, let's see how to create a custom reporter using the stream.Transform:
import { Transform } from 'node:stream';

const customReporter = new Transform({
  writableObjectMode: true,
  transform({ type, data }, encoding, callback) {
    switch (type) {
      case 'test:start':
        callback(null, `Test started: ${data.name}\n`);
        break;
      case 'test:pass':
        callback(null, `Test passed: ${data.name}\n`);
        break;
      case 'test:fail':
        callback(null, `Test failed: ${data.name}\n`);
        break;
    }
  }
});
To use this reporter, you must save it in a file, for example, custom-reporter.mjs, and then pass the path to the --test-reporter flag:
node --test --test-reporter=./custom-reporter.mjs
The
.mjsmeans that the file is an esm module.
The second way to create a custom reporter is using a generator function. This is useful when you want to create a reporter that is not based on the stream.Transform class.
export default async function * customReporter (source) {
  for await (const { type, data } of source) {
    switch (type) {
      case 'test:start':
        yield `Test started: ${data.name}\n`;
        break;
      case 'test:pass':
        yield `Test passed: ${data.name}\n`;
        break;
      case 'test:fail':
        yield `Test failed: ${data.name}\n`;
        break;
    }
  }
}
Save the reporter in a file, for example custom-reporter-generator.mjs, and then pass the path to the --test-reporter flag:
node --test --test-reporter=./custom-reporter-generator.mjs
The Act Two is over. Spoiler alert: I'm working on Act Three, the most interesting part of this series (at least for me).
If you haven't read Act One, I recommend doing so before reading the next article.
